
On this page
The answer to how to add a border in canva depends on the object: use a border element for pages, an image’s border controls for photos, and a separate surrounding shape for text in Canva.

A border can frame an entire composition, separate a photo from its background, or make a short message feel like a label. Those are different jobs, so there is no reason to force them through the same method.
Decide whether you want an outline around an object or an outline around individual letters. A box around a headline is not the same as outlined typography, and the editing controls are different.
Choose the right border method
Start with what the line should surround. A page border is usually a separate design element. A photo border belongs to the selected image. A text-box border can be built from a shape or border element placed around the words.
Use this quick decision list:
- Frame the whole page with a border element.
- Give a rectangular photo a consistent edge with its border controls.
- Enclose a headline with a separate box.
- Outline individual letters with a text effect instead of a page border.
For a busy layout, keep the border quiet. A heavy decorative frame competes with photos, headings, and logos. For a minimal announcement, the same frame may become the main visual device.
Set the page dimensions before adding the border. Changing the layout afterward can leave uneven margins or make a previously balanced frame feel cramped. Work at the intended output size whenever possible.
Add a border around a page
The straightforward page method is a separate border element. It avoids treating a full-page image as if it were the page itself.
- Open the design you want to frame.
- Select Elements in the editor’s side panel.
- Search for “borders.”
- Choose a result that matches your layout.
- Resize and position it around the page content.
- Leave an even inset between the border and the page edges.
- Adjust its color if the selected element exposes editable color controls.
Not every decorative border is equally editable. Some are graphics with limited color options, while others offer more flexible controls. If the toolbar does not show color tiles, choose another element rather than searching indefinitely for a hidden setting.
Keep important content inside the frame rather than pressed against it. A border that almost touches a headline looks accidental, especially when the space on the opposite side is much larger.
For multipage work, check each page after reusing the frame. Different content densities may require a wider inset or a lighter visual treatment.
Add a border to a photo
For an image, use the selected photo’s border settings when they are available. Canva documents these controls in its guide to borders and rounded corners.
- Select the photo on your page.
- Open Border style from the toolbar.
- Choose the border style you want.
- Adjust the border weight with the slider or value field.
- Select the border color control to change its color.
- Review the result against the surrounding background.
Crop the image before fine-tuning its border. A border cannot fix an awkward crop, and changing the photo’s proportions later may alter the balance of the composition. Follow our Canva cropping guide if the image needs reframing first.
A white border often separates a photo from a colored background. A dark border can help a pale image stand apart from a light page. Neither is automatically correct: compare the edge against the actual neighboring colors.
If the expected controls are missing, confirm that you selected the photo itself, not a group or another overlapping object. Toolbar availability can differ with the selected element and editor version.
Put a box around text
For a framed heading or label, use an independent shape or border so the words and surrounding line remain separately editable. Canva’s shape-editing documentation describes adding shapes and changing their stroke style and weight.
- Add your text and finish the basic wording.
- Open Elements and choose a suitable shape or border.
- Resize it to surround the text.
- Leave breathing room on every side.
- Adjust the stroke style, weight, and color where supported.
- Recheck the spacing after changing the font or headline.
If a solid shape obscures the words, use a border element that already has an open center. That is simpler than trying to make an unsuitable graphic behave like an editable outline.
For letter-level styling, Canva text effects include outline-related treatments. Use those when the desired line should follow the letterforms rather than form a box.
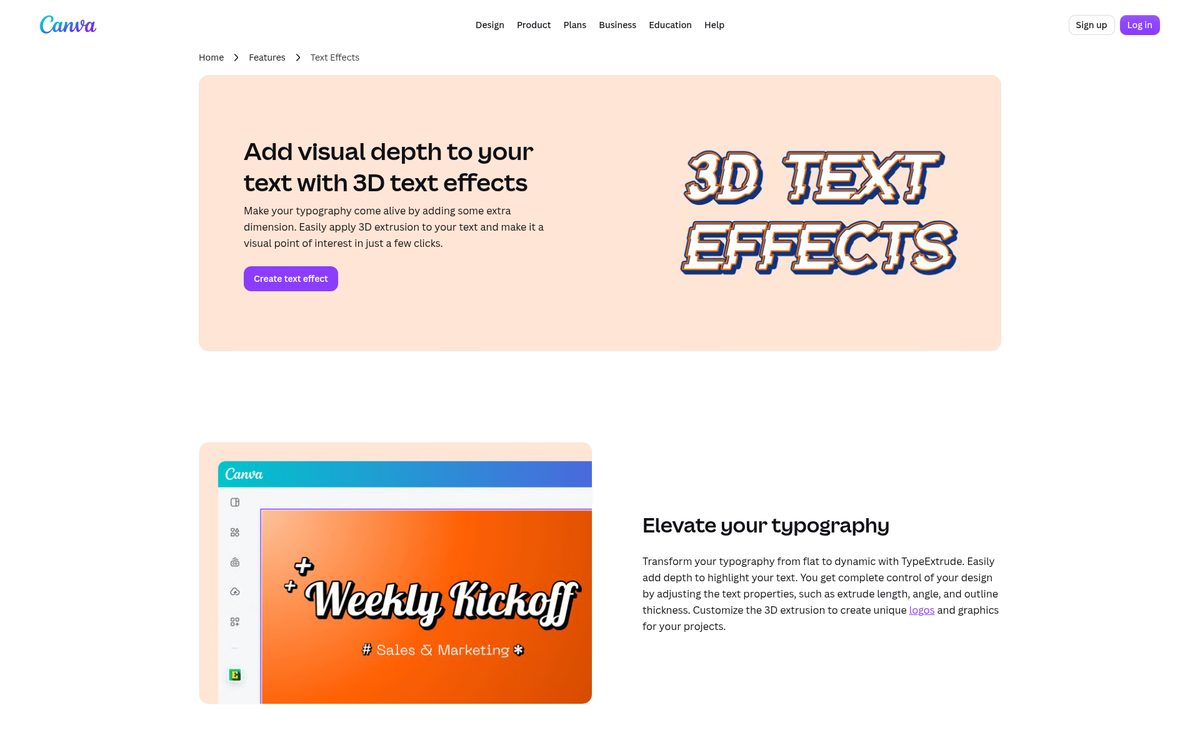
Keep a decorative headline short. Outlined letters lose clarity faster than ordinary filled text when the design becomes small.
Make weight, spacing, and corners agree
A polished frame depends on consistent visual spacing, not just a matching color.
Compare the space above the content with the space below it. Then compare the left and right sides. The measurements need not always be identical, but the difference should look deliberate.
Match the border’s character to the layout:
- Thin lines suit restrained, spacious compositions.
- Stronger lines can support bold promotional graphics.
- Rounded corners work best when nearby shapes share a similar character.
- Decorative frames need enough empty space to remain readable.
Do not combine every available treatment. A thick photo border, ornate page frame, and boxed headline can divide a small graphic into too many competing containers.
Check the design at its actual viewing size. A line that looks elegant while zoomed in may disappear in a small social preview. Conversely, a line that seems modest on a large monitor may dominate a phone screen.
If typography is changing the balance, review our guide to adding fonts in Canva before making repeated spacing adjustments.
Check the finished frame before sharing
Finish with an output-size inspection rather than judging the border only inside the editor.
- Review every side for clipping or uneven margins.
- Confirm that no frame covers important text or image details.
- Check that the photo border remains visible against its background.
- Export a test copy in the format required by the destination.
- Open that copy and inspect it at a realistic size.
For printed work, ask the print provider about trim and safe-area requirements. A narrow border near a cut edge can make small trimming differences more noticeable. Keep essential content comfortably inside the printable area rather than using the frame as a safety boundary.
For screen graphics, prioritize legibility over decoration. If removing the border makes the message clearer, simplify it.
The best border does a specific job: it groups content, separates an image, or gives a page structure. Choose the simplest method that achieves that job and leave enough space for the content to lead.
Reach designers & developers at work
Sponsored posts, links and listings, each clearly labelled as sponsored. One sponsor per placement.
Become a sponsor