
On this page
The practical answer to how to convert webp to png is to open the image in a compatible editor and export a PNG copy, or use a converter that explicitly supports both formats.
Changing the filename from .webp to .png does not convert the image data. A receiving app may still reject the renamed file because its internal format has not changed.
Choose a local workflow for confidential material. A browser-based tool can also process images locally, but an online conversion service may upload the file to its servers.
Keep the original until you have opened and checked the converted copy. That gives you a clean fallback if transparency, animation, or other details do not survive as expected.
Decide whether PNG is the right output
PNG is useful when compatibility matters more than compact size, particularly for graphics that need transparency. It is not an automatic visual upgrade.
A lossy source may already contain artifacts. Converting that image to a lossless format preserves the decoded result; it does not reconstruct details discarded earlier.
Also consider the kind of image you have:
- A static illustration may convert straightforwardly.
- A transparent graphic needs an alpha-preserving workflow.
- An animated image needs a deliberate decision about which frame or output to keep.
- A large photograph may produce a substantially larger file.
Do not assume a general converter will preserve animation in a standard still-image workflow. Inspect the source before starting.
If you are choosing a format for a broader publishing workflow, our PNG versus JPG guide explains the trade-offs between common alternatives.
The safest conversion changes the format while leaving dimensions alone. Resize separately only when the destination actually requires different dimensions.
Convert on Mac with Preview
For a compatible image that opens correctly, Preview provides a local export workflow without sending the file to a conversion website.
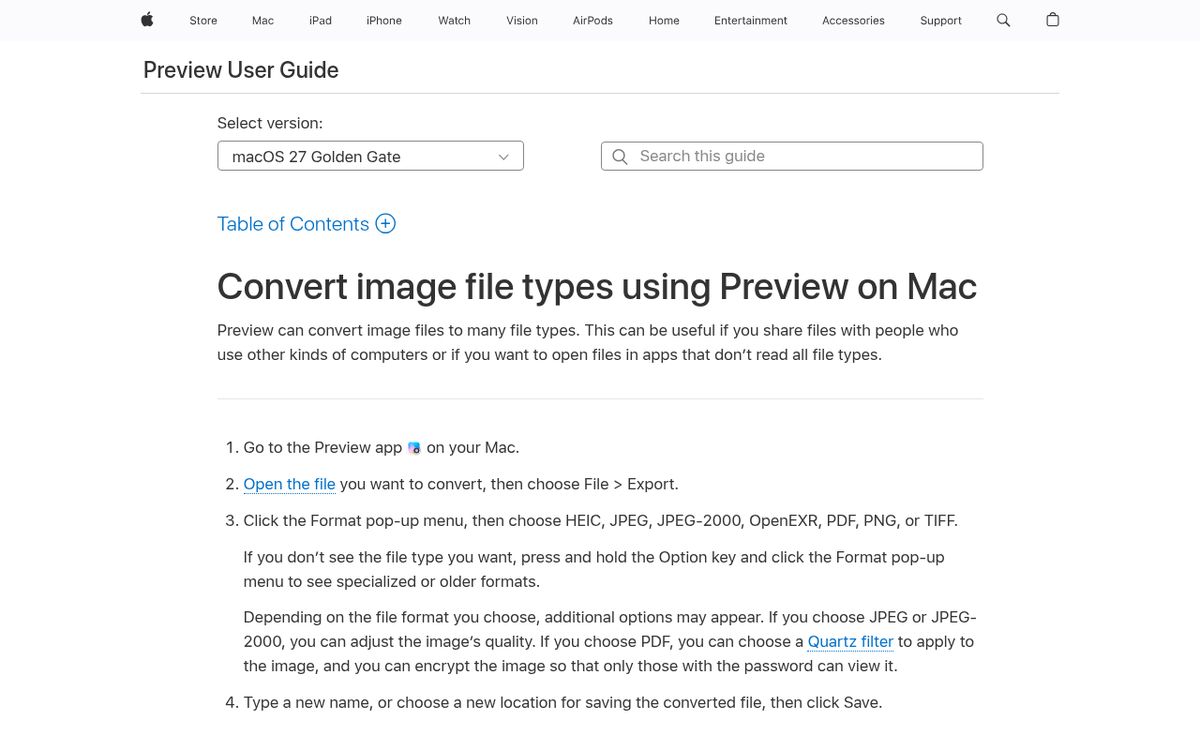
- Open the WebP file in Preview.
- Confirm that the displayed image is the one you intended to convert.
- Choose File, then Export.
- Open the Format menu.
- Choose PNG.
- Enter a new name or choose a destination.
- Save the converted copy.
Apple documents holding Option while opening the Format menu to reveal additional specialized or older formats. PNG is among the documented export formats.
WebP opening behavior can depend on your system and the particular file. If Preview cannot open the source properly, use another workflow below instead of renaming the extension.
After exporting, inspect any transparent edges against a contrasting background. A plain white viewing area can make it difficult to tell whether the output is actually transparent.
Keep the original source alongside the converted file until your destination app accepts the PNG.
Try a Windows editor without forcing compatibility
On Windows, Paint is a convenient first compatibility check, but WebP opening and export behavior can differ between app versions.
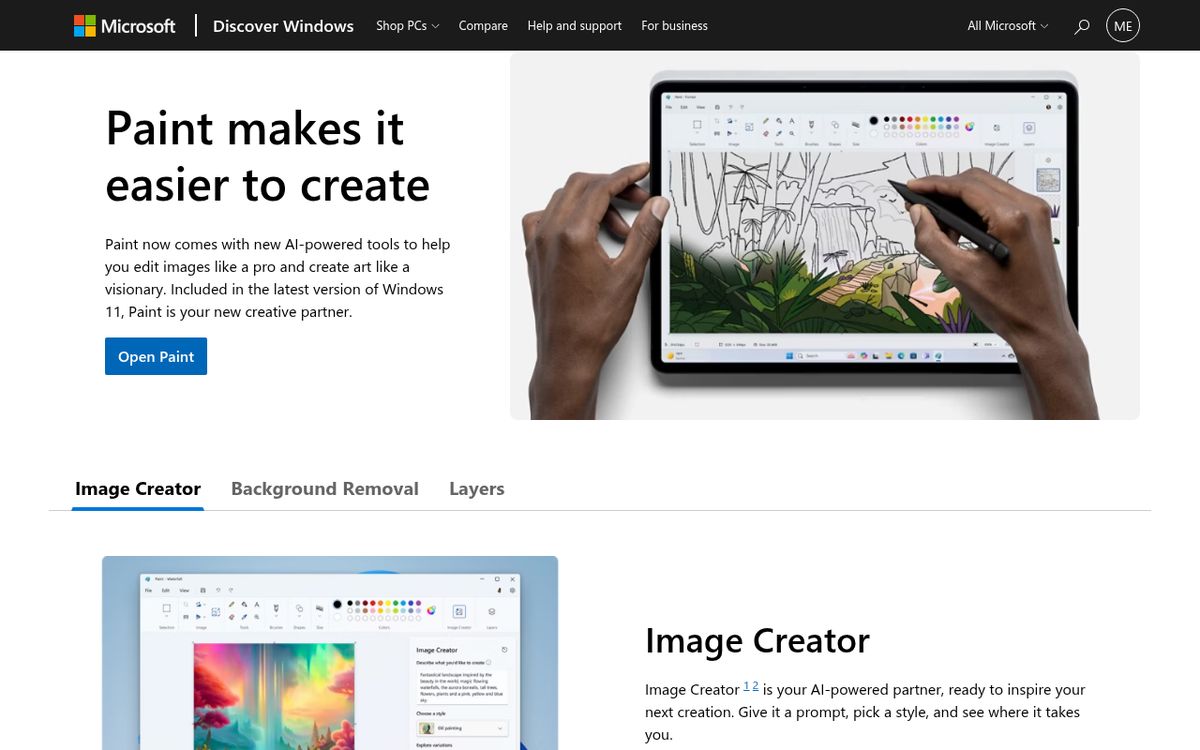
- Try opening the image in Paint.
- Confirm that it displays correctly.
- Check the available save or export formats.
- If PNG is offered, save a new copy in that format.
- Open the saved PNG and compare it with the source.
Do not overwrite the original while testing. If the installed version cannot open the source or does not provide a suitable PNG output, move to another converter rather than trying to repair the filename.
Microsoft’s public Paint page describes image import and export generally, not a universal WebP conversion guarantee. That is why checking your installed app matters.
For a transparent logo, pay particular attention to the background. A workflow that flattens transparency may create a visible rectangle around artwork that previously had no background.
If several files need identical treatment, first test one representative file before repeating the process across the entire folder.
Convert with GIMP when you need more control
GIMP uses Export As for interchange formats, rather than its ordinary project-saving workflow.
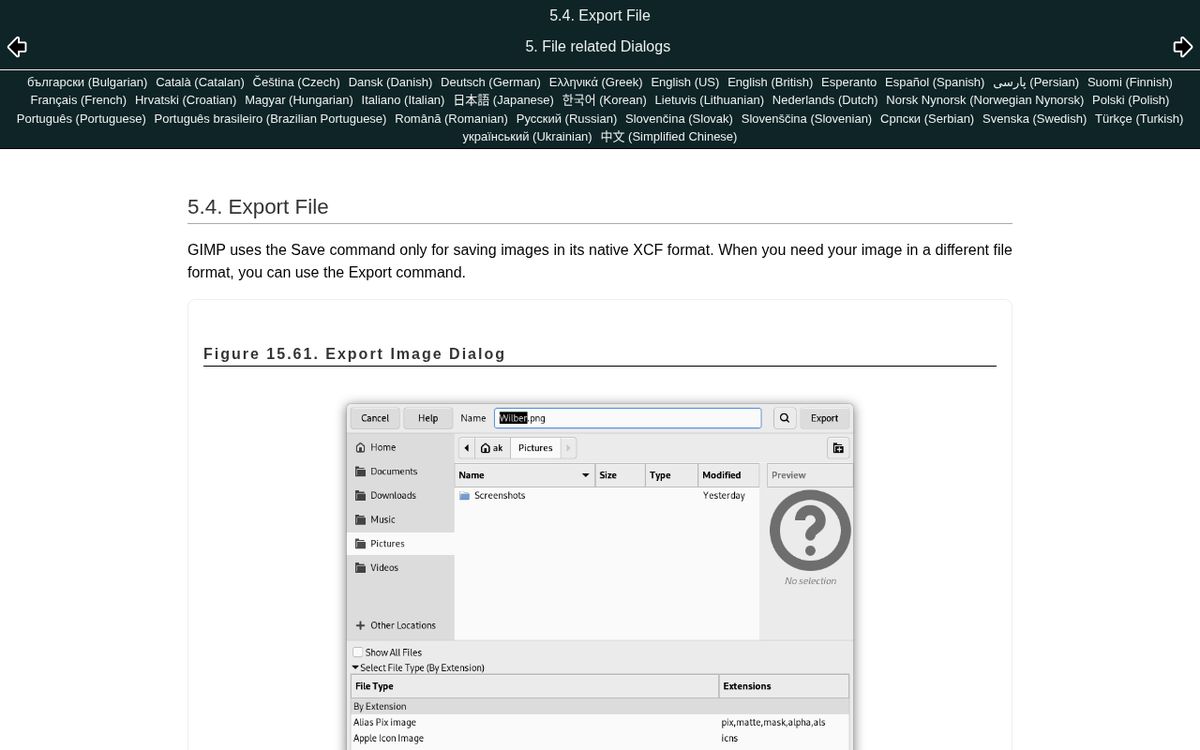
- Open the WebP image in GIMP.
- Inspect its dimensions, visible content, and transparency.
- Choose File, then Export As.
- Enter a filename ending in .png.
- Choose the destination folder.
- Select Export.
- Review the PNG options and complete the export.
GIMP’s documentation explains that Save is reserved for its native project format. Saving a project is therefore different from producing the PNG you need to upload or share.
If the source imports as multiple layers, investigate whether it contains animation before exporting. Do not assume a still PNG will reproduce the moving result.
Avoid unnecessary editing during conversion. Changes to image size, color, or sharpening make it harder to tell whether a difference came from format conversion or another adjustment.
For transparency fundamentals, see our guide to making backgrounds transparent.
Use a browser or online converter deliberately
Squoosh provides local processing in your browser; its official page says images do not leave your device.

- Open Squoosh.
- Drop or select the source image.
- Choose an available PNG encoder from the output controls.
- Leave resizing disabled unless needed.
- Download the result and inspect it.
Compare the output dimensions with the source. Avoid reducing the palette or applying additional transformations when the goal is simply a format change.
CloudConvert offers a dedicated WebP-to-PNG conversion page as a server-based alternative.
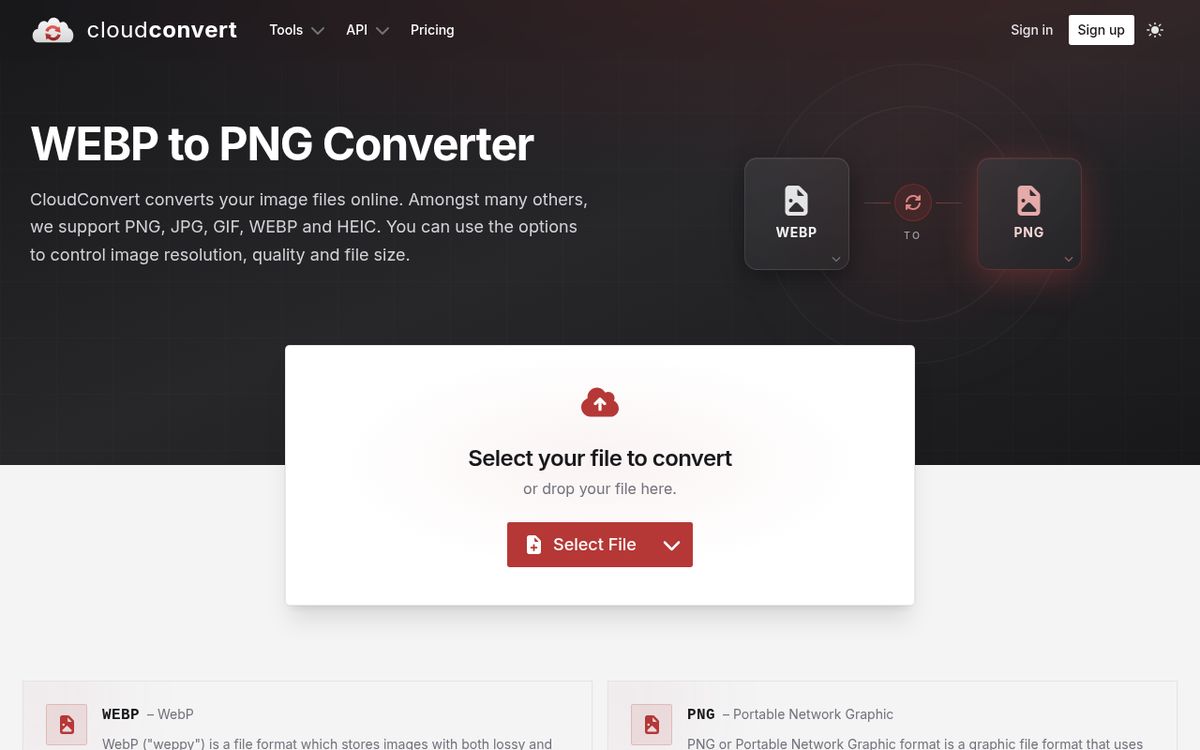
- Select the source file on the conversion page.
- Confirm PNG as the output.
- Review any relevant conversion settings.
- Start the conversion.
- Download and check the finished image.
Only upload files you are authorized to send to an external service. For private client assets, internal screenshots, or personal documents, a local editor or local-processing browser tool is usually the safer starting point.
Check current service limits before starting a large batch.
Verify the converted file before using it
The final step is checking the actual output, not merely seeing a successful download.
- Open the PNG in a second compatible viewer or the destination app.
- Compare its dimensions with the original.
- Inspect fine edges and small text.
- Check transparent areas.
- Confirm that the intended still image was preserved.
- Compare file size with your upload limit.
A larger PNG is not necessarily a better image. The format may simply store the same decoded pixels less compactly than the source.
If the result has a background you did not expect, revisit the conversion settings and source transparency before attempting background removal.
Choose the simplest workflow that opens your source correctly and produces a verified PNG. Keep the original, avoid unnecessary edits, and test the converted copy where you actually plan to use it.
Reach designers & developers at work
Sponsored posts, links and listings, each clearly labelled as sponsored. One sponsor per placement.
Become a sponsor