
On this page
The answer to how to record a call on iphone is to use the built-in recording control during a supported call; both participants hear an announcement, and the recording is saved afterward.
Check software, region, and consent first
Apple’s call recording guide explains the built-in workflow. Call recording arrived with iOS 18.1 and remains available in supported configurations on iOS 26.
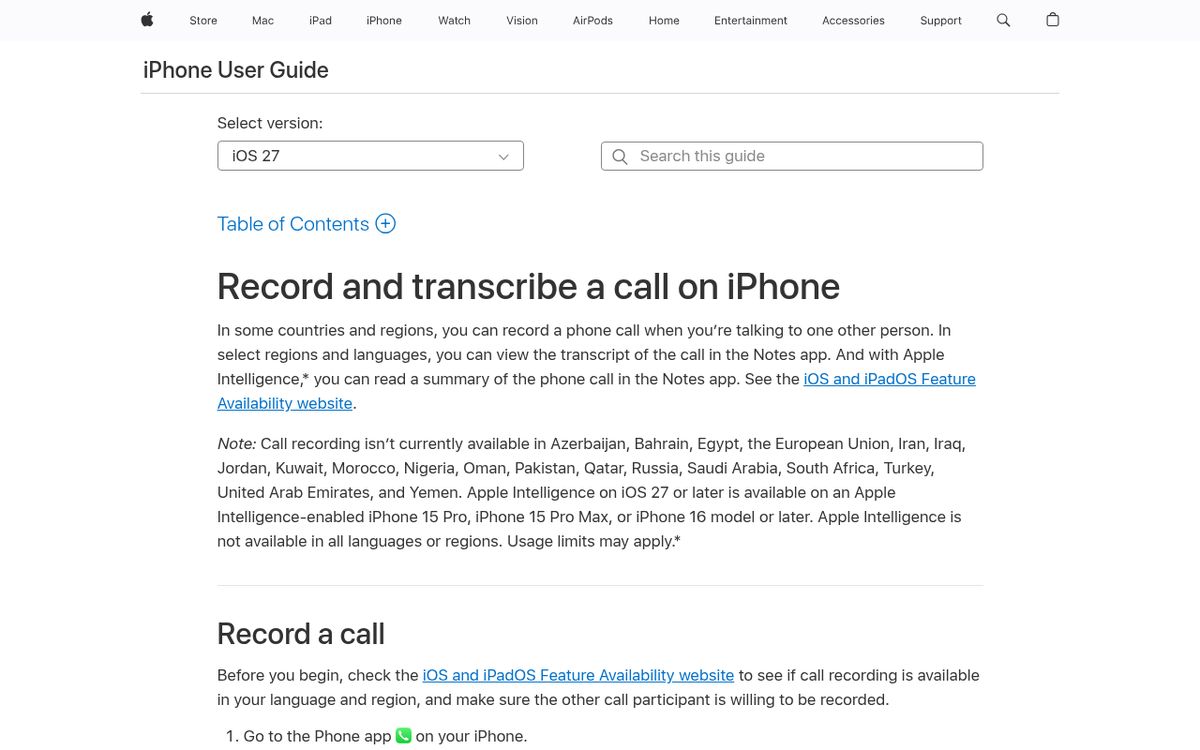
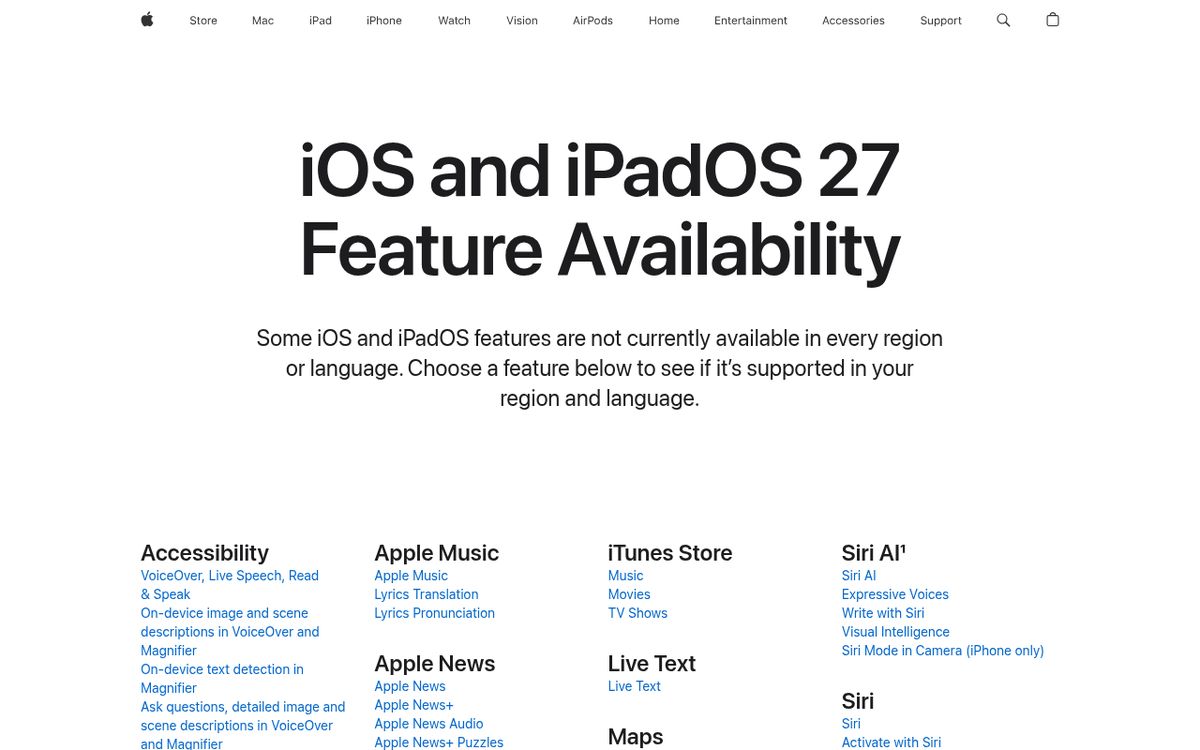
Before planning an important recording, check Apple’s feature availability information. Recording, transcription, and summaries do not necessarily share the same regional, language, or hardware requirements.
The essential rule is get agreement before recording. Tell the other person what you want to record and why, and confirm they are willing to continue.
Recording laws vary by jurisdiction and circumstances. The automatic announcement is a product behavior, not a guarantee that every legal requirement has been satisfied. This is general practical information, not legal advice.
For a work call, check organizational policies too. A feature being available on your personal phone does not automatically authorize recording confidential business information.
Start recording during a call
Use a supported one-to-one call for this workflow. Do not assume the same control exists inside every third-party calling app or conference service.
- Open the phone-calling app.
- Make or answer the call.
- Ask the other participant whether they agree to recording.
- On iOS 26, open the More controls.
- Tap Call Recording.
- Listen for the recording announcement.
- Continue the conversation once everyone understands recording has started.
On the original iOS 18.1 interface, the recording control appears directly on the active call screen. Its placement differs from the newer More-menu workflow.
The important behavior is both participants hear the notice. Apple’s built-in feature is not designed as a silent recorder, and there is no supported setting in this workflow for secretly suppressing that notice.
Recording begins when you activate it, not retroactively from the start of the conversation. If an important explanation happened earlier, ask the speaker to repeat it after recording starts.
For your first attempt, arrange a brief test call with someone who agrees. Confirm the control appears and that the saved result is usable before depending on it for a deadline.
Stop recording and find the saved audio
Apple saves recordings in the Call Recordings folder in Notes. You do not need to keep the active-call screen open afterward to listen.
- Tap the stop-recording control when you want recording to end.
- Alternatively, end the call, which also stops recording.
- Tap View Saved Call if that option appears.
- Otherwise, open Notes.
- Open the Call Recordings folder.
- Select the relevant note.
- Tap the playback control.
Remember that stopping recording does not require ending the conversation. You can stop capturing audio and continue speaking if the other person wants the remainder kept off the record.
Listen to the saved audio before relying on it. A recording can exist while still containing unclear speech, interruptions, or a section that began too late.
For organization, add context in the note, such as the purpose of the call and any follow-up task. Avoid adding unnecessary sensitive details merely because the note offers space.
Use transcripts without treating them as perfect
In supported regions and languages, you can view a transcript alongside the recorded call. Open the saved call in Notes and use the transcript control when available.
The most useful habit is verify important words against audio. Names, addresses, dates, prices, and technical terms are exactly the details where a plausible-looking transcription error can cause trouble.
- Open the recorded call.
- Display the transcript.
- Find the statement you need.
- Play the corresponding audio.
- Correct your own written notes before sharing or acting on the information.
Transcription may not be ready immediately. A processing message does not necessarily mean recording failed.
A transcript is also separate from a generated summary. Apple Intelligence can provide additional capabilities on supported devices, languages, and regions, but it is not a prerequisite for basic call recording.
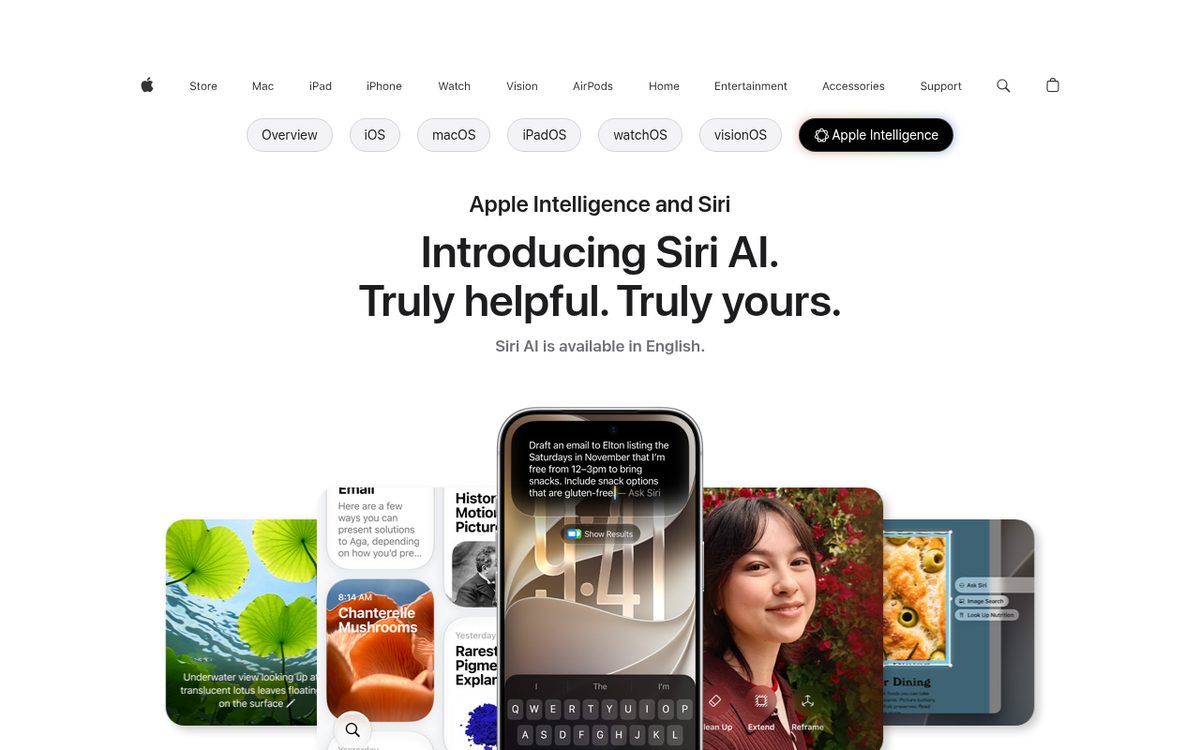
Do not buy a new device solely because a transcript or summary button is missing before checking the specific requirements. Audio recording, speech transcription, and generated summaries have different eligibility rules.
Troubleshoot a missing recording control
When the option is absent, check eligibility before changing settings. A missing control does not automatically mean a microphone permission is broken.
- Open Settings > General > About and check your software version.
- Confirm you are using the supported built-in calling workflow.
- Check that the call type is supported.
- Review Apple’s regional and language availability information.
- Install an available compatible software update if appropriate.
- Try an agreed test call again.
Apple’s availability pages change over time. Do not rely on an old screenshot or a country list copied into a forum post, and do not assume a current page for a newer release precisely describes an older release.
Changing a language or region setting is not a reliable universal workaround for geographic restrictions.
If saving fails because the phone is nearly full, address storage before another important call. Our iPhone storage cleanup guide offers practical starting points.
Keep recordings useful and private
The final step is limit access to what is necessary. Call audio can contain addresses, account details, private opinions, or information about people who were not on the call.
Before sharing, listen again and confirm the recipient needs the complete recording rather than a short written action list. Check that you are sending the intended item, not unrelated notes.
Keep the audio only as long as your purpose and applicable obligations require. Treat copies sent elsewhere as separate copies that may remain accessible outside your phone.
For additional protection of sensitive applications, use your device’s privacy controls thoughtfully; hiding an icon alone is not a complete information-security plan. Our explanation of passkeys covers another useful layer of account protection.
A brief consent check, a visible recording start, and a playback review make the built-in recorder much more dependable than pressing a button and assuming everything afterward is covered.
Reach designers & developers at work
Sponsored posts, links and listings, each clearly labelled as sponsored. One sponsor per placement.
Become a sponsor