
On this page
The simplest answer to how to scan a document on iphone is to open a note, tap its attachment button, choose Scan Documents, and capture your pages.
Choose between Notes and Files
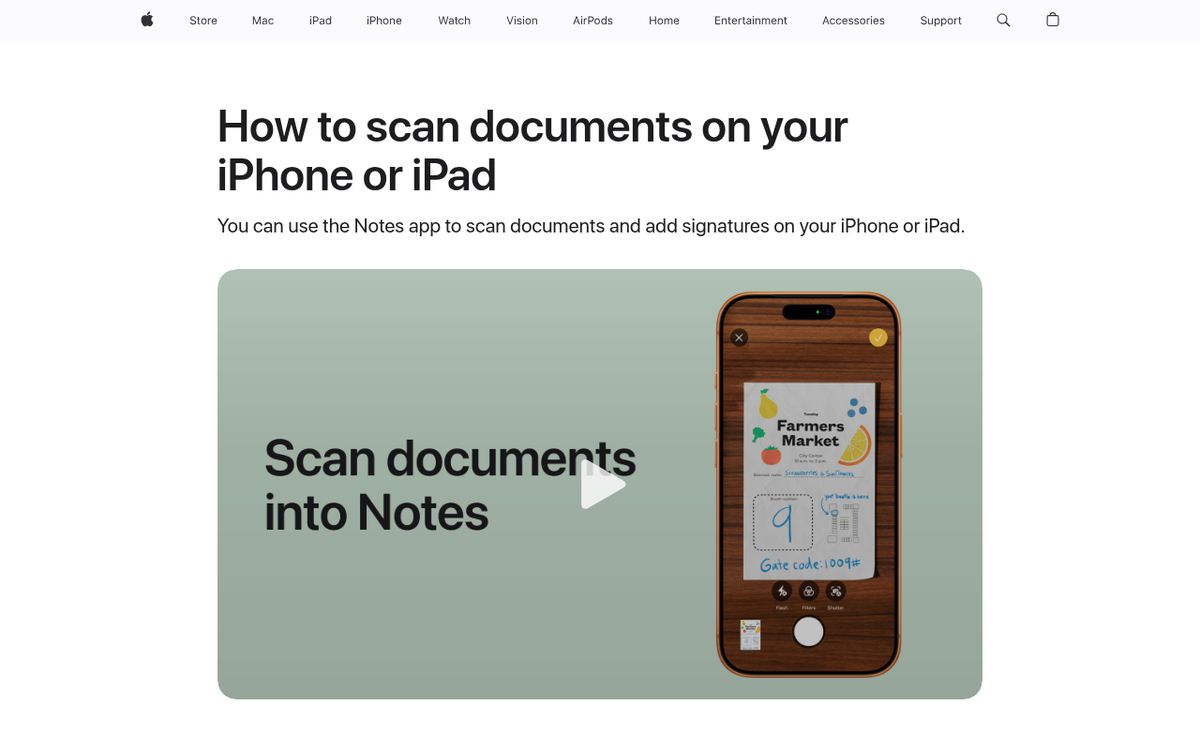
Notes document scanning works well when a receipt, form, or letter belongs alongside written information. A scan becomes an attachment inside a note, so you can keep context with the paperwork.
For a document you want to name and organize in a folder immediately, use Files instead.
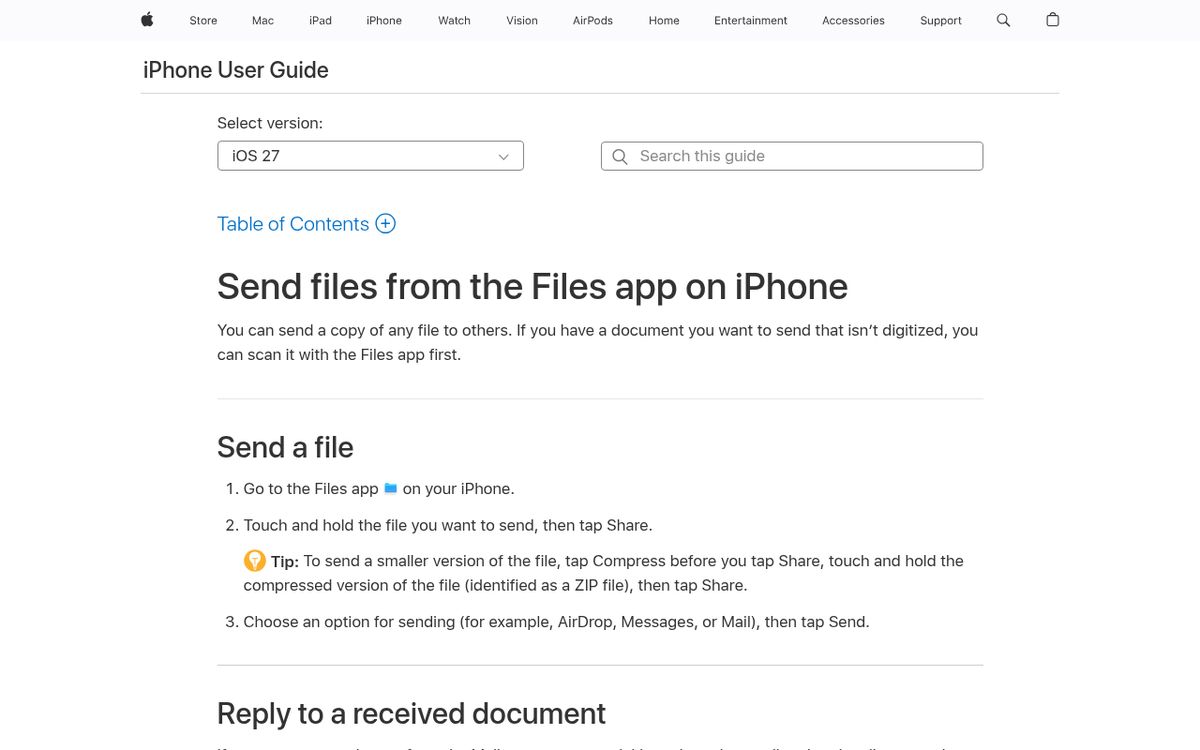
The useful distinction is note attachment versus standalone file. Neither option requires downloading a separate scanning app, and both let you capture more than one page.
Choose the destination before starting a long document. Keeping all pages in one scan is generally easier than creating several separate attachments and trying to organize them afterward.
A document scan is also different from an ordinary photograph. The scanning workflow detects page boundaries and lets you correct the crop, making it better suited to forms and printed pages than a casual picture of your desk.
Scan pages in Notes
Apple’s current instructions cover the attachment-button workflow used in recent releases, including iOS 18 and iOS 26. In iOS 26, the scanner also presents options such as flash and image filters.
- Open Notes.
- Open an existing note or create a new one.
- Tap the attachment button.
- Tap Scan Documents.
- Position the page inside the camera view.
- Hold the phone steady while automatic capture detects the page.
- Continue capturing additional pages if needed.
- Tap the completion control to save the scan.
For manual capture, tap the shutter button or press a volume button. Adjust the corners to fit the page, then keep the scan.
Button labels and scanner controls can differ slightly between software versions. Apple’s current support instructions use Done; older scanner layouts may show Save at the end of the capture session.
Do not leave the note immediately after photographing the first page. Finish the scanning workflow so the document is actually attached, then open the attachment to verify it saved.
Scan directly into Files
Use this route when the scan belongs in a project folder or needs to be uploaded as a document. Begin in the folder where you want the finished file, rather than sorting through unrelated documents afterward.
- Open Files.
- Browse to the location or folder you want to use.
- Tap the More button.
- Tap Scan Documents.
- Position the first page in the camera view.
- Let automatic capture work, or capture manually.
- Adjust the page corners if necessary.
- Capture the remaining pages.
- Finish the scan and follow any save-location prompts.
The advantage is folder-first organization. Use a descriptive filename that will still make sense when the document is separated from the conversation or task that produced it.
For example, a name describing the document type and relevant month is more useful than an unexplained scan number. Avoid putting unnecessarily sensitive identifiers in filenames, especially if a recipient will see them in an upload history.
After saving, reopen the document from its folder. That confirms you can locate the actual file rather than only a temporary scanner preview.
Make the text easy to read
A scan is useful only if the recipient can read it. Before capturing, flatten the paper as much as possible, clean the camera lens, and choose a surface that contrasts with the page edges.
The priority is complete, legible pages, not dramatic lighting or the smallest possible file.
- Use even lighting that does not cast your phone’s shadow across the text.
- Keep all four corners visible.
- Hold the camera approximately parallel to the paper.
- Move away from glare on glossy forms.
- Check faint pencil marks and pale printed text carefully.
- Inspect both sides when a document contains information on the reverse.
If automatic capture keeps firing too early, switch to manual capture and take a moment to align the page. Correct the crop before accepting it.
Filters can improve readability, but compare the result with the original. A high-contrast appearance is not helpful if it removes a light signature or a colored annotation.
For photo-oriented projects rather than paperwork, our guide to making a collage on iPhone covers a more suitable workflow.
Review, sign, and share the document
Before sending anything, open the completed scan and check every page, not just the thumbnail. Confirm the order, orientation, page count, signatures, and any small account or reference numbers.
Apple’s scanning instructions also explain signing with Markup. Because that is the same official page introduced above, use its signing section when you need a signature rather than another app.
- Open the scanned document in its note.
- Tap the Markup button.
- Tap the Add button.
- Choose Signature.
- Create or select a signature.
- Position and resize it, then tap Done.
Check whether the recipient accepts this kind of electronic signature. Adding a signature image does not establish that every organization must accept the document.
To send a file from Files, touch and hold it, tap Share, and choose the sending method. In Notes, open the scanned attachment and use its sharing controls to send the document itself rather than accidentally sharing unrelated note content.
Keep a usable copy
The final habit is verify before deleting paper. Reopen the saved scan after sharing it and check that the version you retained includes every page and any annotations.
If an upload fails, read the receiving website’s requirements. It may restrict file type, size, or page count. Do not assume a failed upload means the scanner is broken.
Avoid converting a readable document into screenshots simply to work around an unclear error. First confirm that you selected the saved scan and that the recipient supports its format.
If the phone cannot save new documents because storage is full, our storage cleanup guide can help you make room.
Keep originals when a school, employer, financial institution, or government office requires them. A clear digital copy is convenient, but it is not automatically a replacement for every original document.
Reach designers & developers at work
Sponsored posts, links and listings, each clearly labelled as sponsored. One sponsor per placement.
Become a sponsor