
On this page
To answer how to turn off find my iphone, open Settings, tap your name, choose Find My > Find My iPhone, and turn off the switch after completing any required security checks.
Turn it off on the iPhone
Apple’s Find My instructions describe the normal on-device method. Use it when you still have the phone, can unlock it, and are deliberately preparing it for a handoff or service.
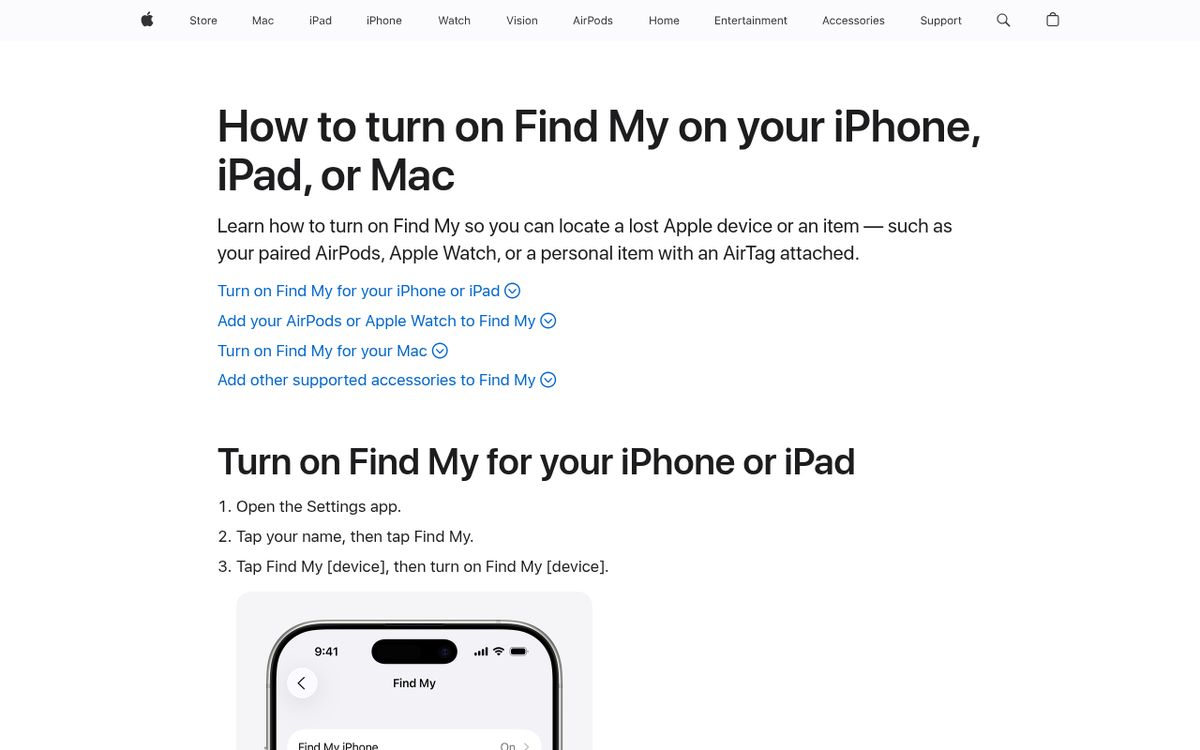
- Open Settings.
- Tap your name at the top.
- Tap Find My.
- Tap Find My iPhone.
- Turn off Find My iPhone.
- Enter your account password when prompted, then confirm.
The important distinction is turning off device protection, not simply closing the tracking app. Deleting an app icon, disabling location access for an unrelated app, or removing a phone from a Bluetooth list does not accomplish the same thing.
If the switch is unavailable, do not repeatedly reset the phone or look for a bypass. Read the security message first. Additional theft-protection settings can prevent this change until you complete their requirements.
If your account password is unavailable, recover access before scheduling a sale. A working screen passcode alone does not guarantee you can remove every account-level protection.
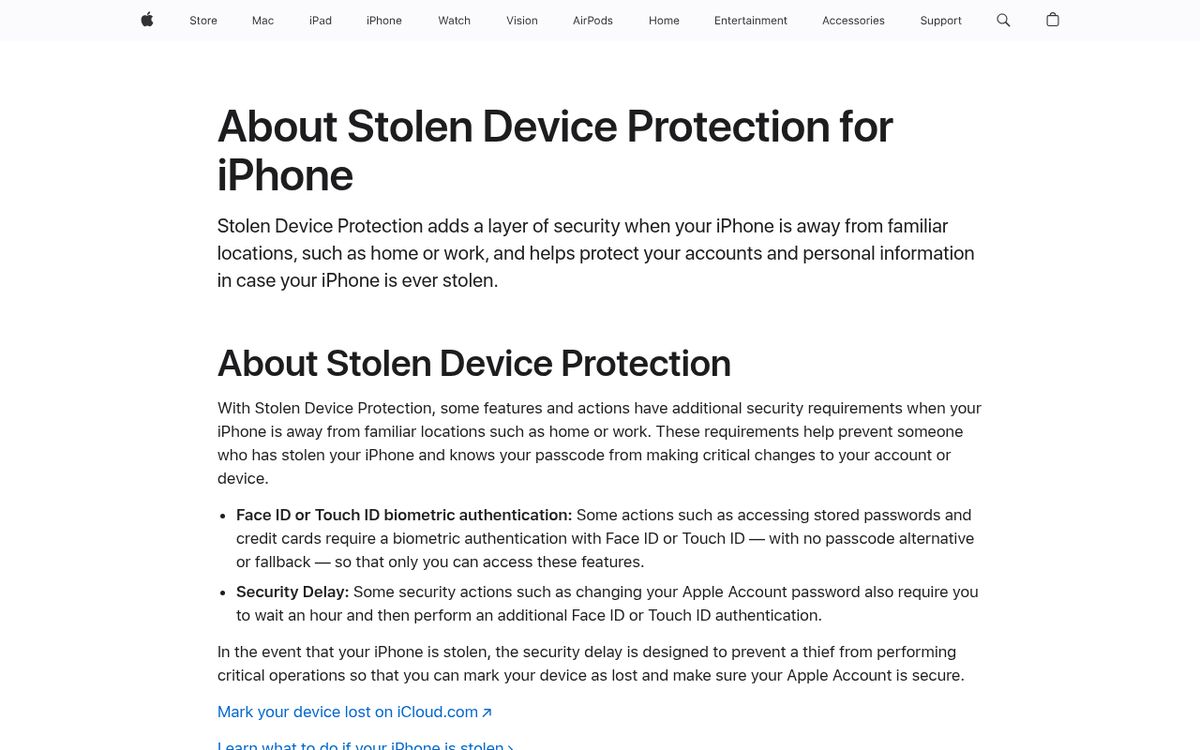
Handle Stolen Device Protection first
Stolen Device Protection prevents Find My from being turned off while that protection is enabled. This applies to supported versions beginning with iOS 17.3, including iOS 18 and iOS 26.
- Open Settings.
- Tap Face ID & Passcode, or Touch ID & Passcode on an applicable model.
- Enter the device passcode.
- Tap Stolen Device Protection.
- Follow the instructions to turn it off.
- Return to the Find My settings afterward.
A security delay can take an hour. When required, authenticate with your face or fingerprint, wait for the delay, then authenticate again to finish the change.
By default, the additional requirements generally apply away from familiar locations. If you selected Always for the security-delay requirement, being at home does not remove that requirement.
Start this process before leaving for a repair appointment or meeting a buyer. Do not assume the delay means the phone is malfunctioning, and never give another person your password so they can finish it later.
Understand what happens to Activation Lock
Activation Lock links the device to your account when Find My is enabled. It helps prevent someone else from activating and using a lost or stolen phone.
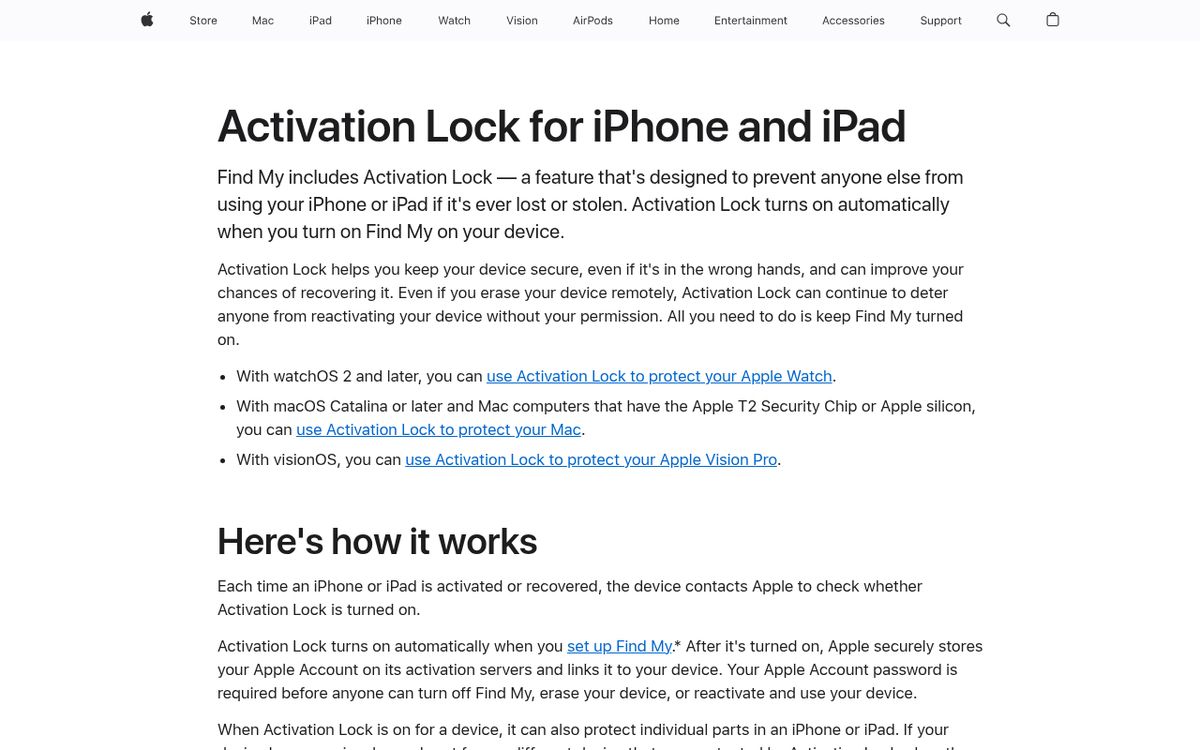
The key consequence is that a new owner needs an unlocked handoff. Turning off Find My removes this particular ownership barrier, but it does not by itself erase your photos, conversations, downloaded files, or signed-in apps.
Treat those as separate tasks:
- Back up information you want to keep.
- Remove the ownership protection through the authorized process.
- Erase the phone before giving it to another person.
- Verify the handoff does not request your account credentials.
Do not disable Find My merely because someone who found your missing phone asks you to. Keeping the account association is part of what makes the device less useful to a thief.
For broader account hygiene, our guide to checking whether your password was leaked explains why reused credentials deserve attention before an ownership change.
Use iCloud.com when the phone is elsewhere
Apple documents remote removal through Find Devices on iCloud.com. You can open that website on another phone, tablet, or computer; you do not need the original iPhone in your hand.
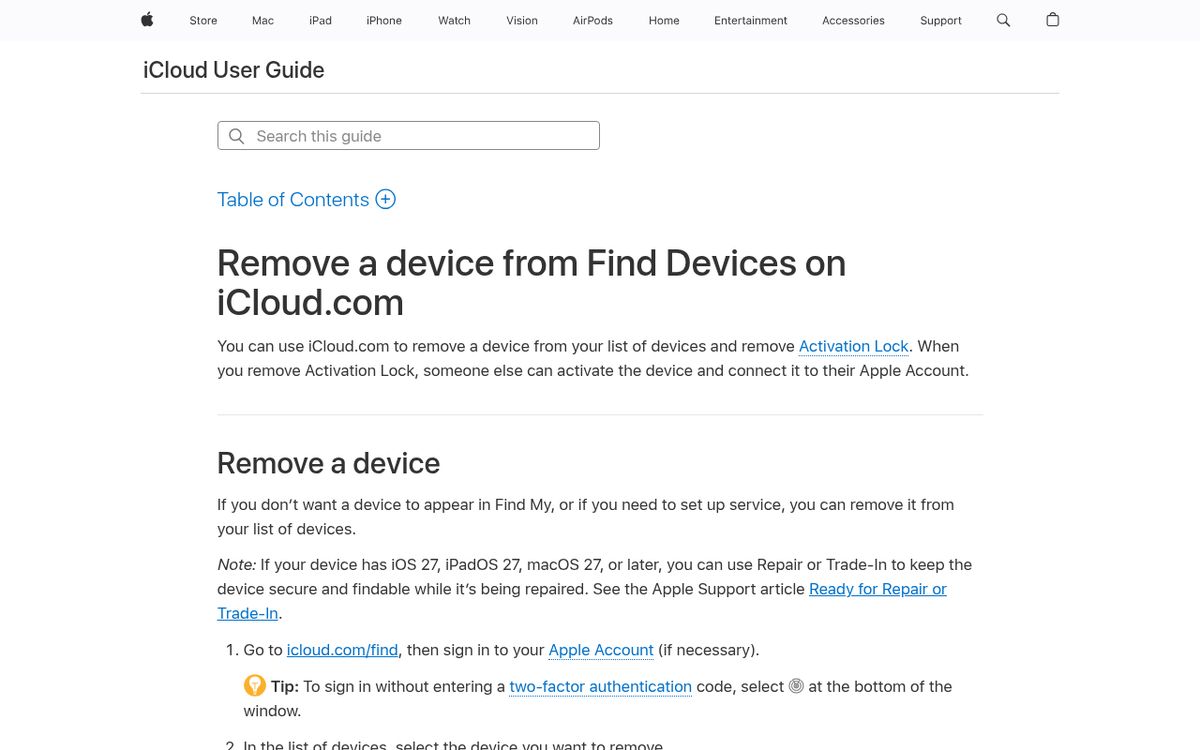
For a phone you already sold or gave away, use erase first, remove afterward rather than treating list removal as a substitute for wiping personal information.
- Open the web address provided in Apple’s instructions and sign in.
- Select the correct iPhone from the device list.
- If your information remains on it, choose the erase action.
- Follow the prompts and allow the erase to complete.
- Remove the device using the removal action afterward.
An offline phone cannot immediately receive an erase command. Keep that limitation in mind before telling a buyer the process is finished.
Apple also provides a Remove This Device action, but its behavior depends on whether the phone is online and its current state. Read the displayed explanation carefully. A service-preparation state is not the same thing as a permanent, erased ownership transfer.
Prepare differently for selling and repair
For a sale, protect the data before releasing ownership. Confirm that your replacement phone or backup contains the information you need before erasing the old one.
Do not manually delete individual synced photos or contacts as a cleanup shortcut. You want to erase the device through the proper reset workflow, not accidentally remove information you still use elsewhere.
Repair is different because you expect the same phone back. Follow the specific preparation instructions from your authorized service provider rather than automatically applying a sale checklist.
- Make a current backup.
- Ask what preparation the particular repair requires.
- Complete any required security delay in advance.
- Turn off Find My if the service workflow requires it.
- Keep your credentials private throughout the appointment.
Never send your account password or device passcode in a message to a technician or buyer. If authentication is needed, enter it yourself.
If storage is stopping your backup, start with our iPhone storage cleanup guide.
Finish with a protection check
Your final check depends on who keeps the phone. If it is being sold, confirm that it is erased and no longer tied to your ownership protection before the buyer leaves.
If the phone is staying with you after troubleshooting or repair, return to the same settings and enable Find My again when appropriate. Restore any theft-protection settings you intentionally disabled.
Keep the backup until you have verified your important information on the device you will actually use. A few minutes spent checking ownership, data, and security is much safer than trying to repair an incomplete handoff afterward.
Reach designers & developers at work
Sponsored posts, links and listings, each clearly labelled as sponsored. One sponsor per placement.
Become a sponsor