
On this page
To learn how to uninstall apps on mac, quit the app, use its own uninstaller if provided, or move it to the Trash and empty the Trash when you are ready.
“Completely” needs a little care. Removing an app is not the same as deleting every document it created, closing its online account, or canceling a paid subscription. A safe cleanup separates those decisions instead of treating everything connected to the app as disposable.
Check what you actually want to remove
Apple’s app removal instructions explain that uninstalling an app does not remove documents you created with it or cancel its subscriptions.
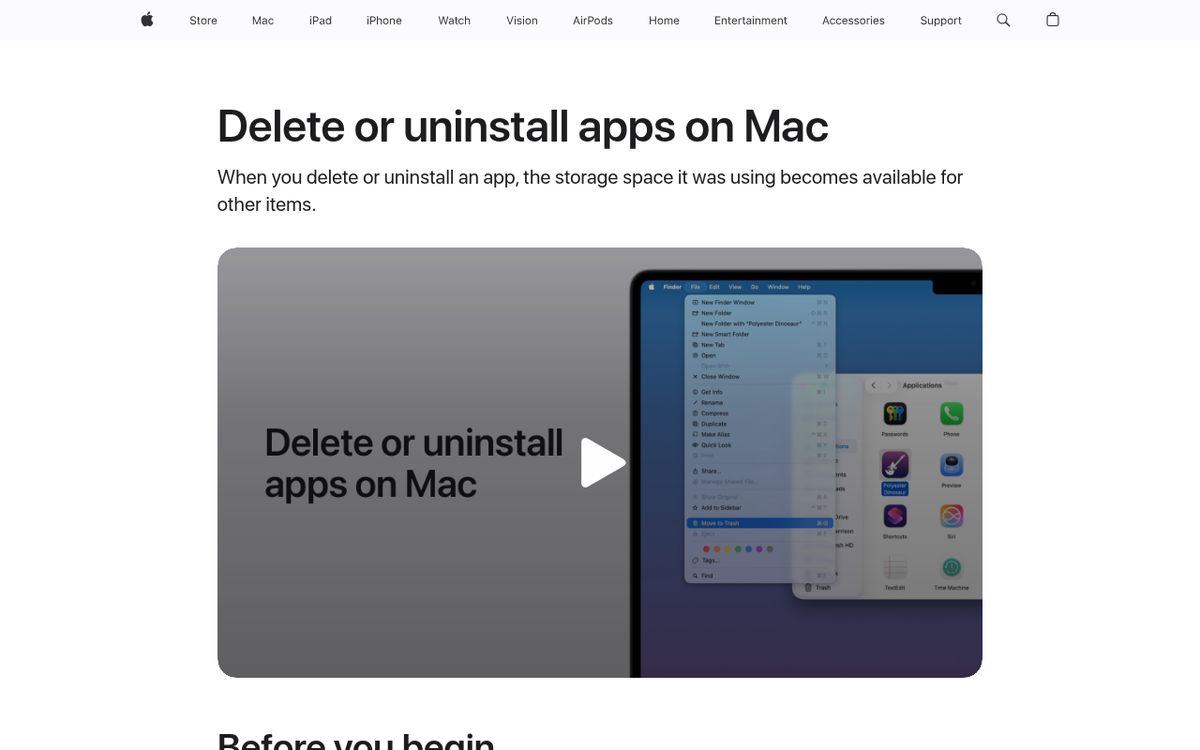
Start with your documents and account access, particularly if the app stores important work in its own format.
- Open any projects you still need.
- Save or export copies where appropriate.
- Confirm that you can locate the saved files outside the app.
- Check whether you will need another compatible app to open them.
- Review any paid subscription separately.
- Quit the app before beginning removal.
Do not delete your only copy of a project simply because you no longer need the program today. Keeping the document and keeping the installed app are separate choices.
If this is a work-managed Mac, ask your administrator before removing required software. Security, networking, and management apps may have an approved removal procedure that differs from a personal app’s workflow.
Find the installed application
Use the installed app’s location, not a shortcut in a convenient place, as the starting point for removal.
- Open a file-browsing window.
- Choose Applications from the Go menu in the menu bar.
- Locate the app you want to remove.
- If it is inside a folder, inspect that folder for an uninstall utility.
- Confirm the app name before moving or deleting anything.
Apple notes that some apps are installed in the Applications folder inside your home folder instead. If the main Applications folder does not contain the app, choose Home from the Go menu and check there.
Another documented method is to search for the app, then hold Command while double-clicking its search result to reveal the installed app.
Finding the actual installation also helps distinguish an app from its installer download. Deleting an installation package you downloaded earlier does not remove the app that package already installed.
Avoid deleting folders merely because their names resemble the app. A folder containing your own projects is not the same thing as the application.
Use the developer’s uninstaller first
An included uninstaller is the preferred option when the app provides one. Apple recommends it because apps can place login items, extensions, and other supporting data outside their main application bundle.
- Check the app’s installation folder for an Uninstall or Uninstaller application.
- Check the app itself for an uninstall, remove, or reset feature.
- Read the developer’s official removal instructions if the correct option is unclear.
- Run the documented removal process.
- Follow any requested confirmation or restart steps.
This matters most when the software does more than open ordinary documents. A program that adds background components may need to reverse those changes during removal.
Do not substitute a generic folder-deletion checklist for a developer’s specific procedure. Similar-looking support files can belong to shared components or another app from the same company.
If the uninstaller offers a choice about retaining settings or user data, read it carefully. Keeping preferences may help if you plan to reinstall; removing them may be appropriate when you deliberately want a fresh start. Neither choice should be made without checking what it includes.
Remove apps without an uninstaller
For apps without their own removal feature, Move to Trash is Apple’s documented method on current Mac software, including Sequoia and Tahoe 26.
- Make sure the app is closed.
- Select the application.
- Choose File, then Move to Trash, or drag it to the Trash.
- If prompted, enter the name and password of a Mac administrator.
- Check that you removed the intended app.
- Empty the Trash when you are ready to make the deletion permanent.
Do not empty the Trash casually if it contains unrelated files you might still need. Review those items first, because permanent deletion affects more than the app you just removed.
If the Mac says the app is in use, quit it and try again. Apple also recommends restarting when an app cannot be removed because it is open.
Some apps required by the operating system cannot be removed using this process. A refusal is not a reason to disable protections or run commands copied from an unrelated website.
Check storage without chasing every leftover
Apple’s storage management guidance explains how to inspect space usage and review categories of files.
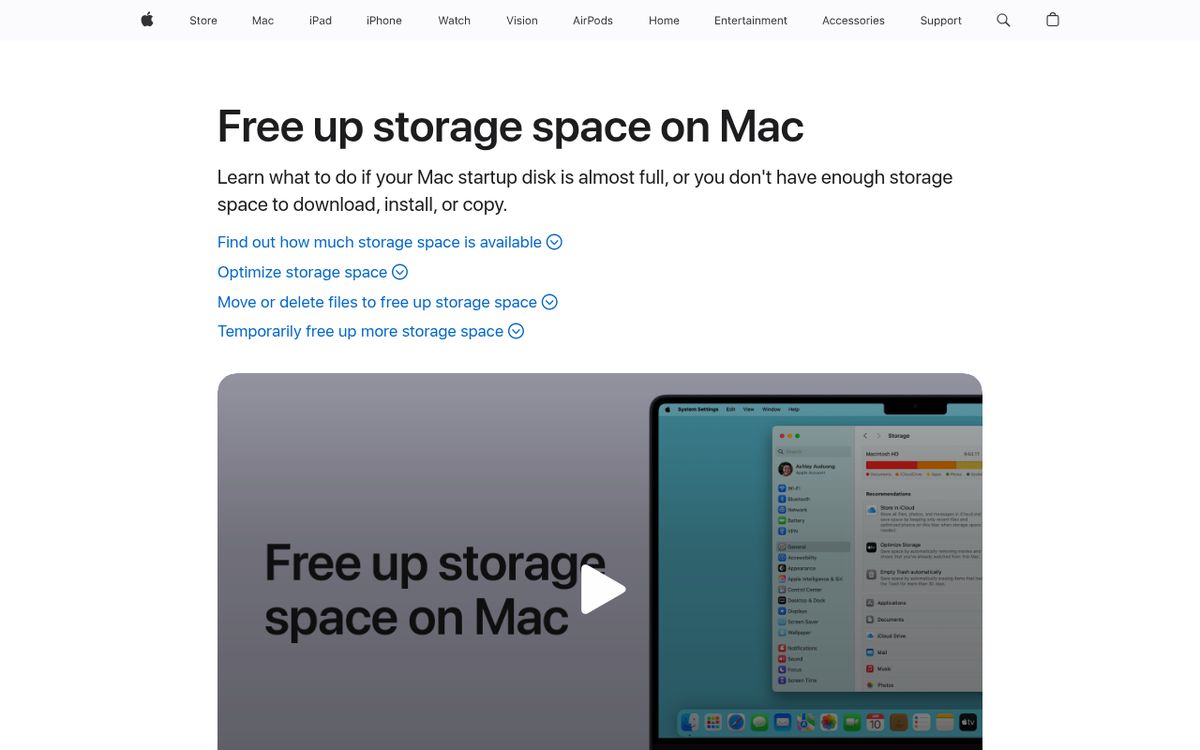
Use the Storage overview to judge whether the cleanup addressed your original problem.
- Open System Settings from the Apple menu.
- Choose General.
- Click Storage.
- Allow the categories to update.
- Review large files and categories before deleting additional material.
The System Data category is broader than abandoned app files. Apple describes it as a general category for files that do not fit more specific categories, so a large number there is not proof that the uninstall failed.
Avoid deleting entire support or cache folders simply to force that number down. For app-specific remnants, use the developer’s official instructions and verify exactly which files belong to the removed product.
If large video projects are the real storage problem, our guide to compressing a video may be more useful than removing several small apps.
Finish the cleanup safely
A separate final review catches the tasks that deleting the app does not handle.
- Confirm that important documents remain accessible.
- Check that the app is no longer installed in its original location.
- Review any subscription you intended to stop paying for.
- Decide separately whether you want to retain the associated online account.
- Remove redundant installer downloads only after checking that they are no longer needed.
If you are preparing the entire computer for a new owner, uninstalling a handful of apps is not a substitute for erasing your personal setup. Follow our guide to factory-resetting a laptop before selling it instead.
For everyday cleanup, stop when the app is removed and the developer’s documented steps are complete. A careful uninstall is better than deleting unfamiliar files in pursuit of a perfectly empty footprint.
Reach designers & developers at work
Sponsored posts, links and listings, each clearly labelled as sponsored. One sponsor per placement.
Become a sponsor