
On this page
To learn how to zip a file, select your files in your device’s file manager and use its compression command to create a separate ZIP archive.
A ZIP packages files and folders into one item, which makes a project easier to attach, upload, or move. It may also reduce their combined size, although the savings depend on what is inside. You do not need to buy a compression app for the methods below.
Zip a file on Windows 11
Windows File Explorer can create ZIP archives through the file shortcut menu.
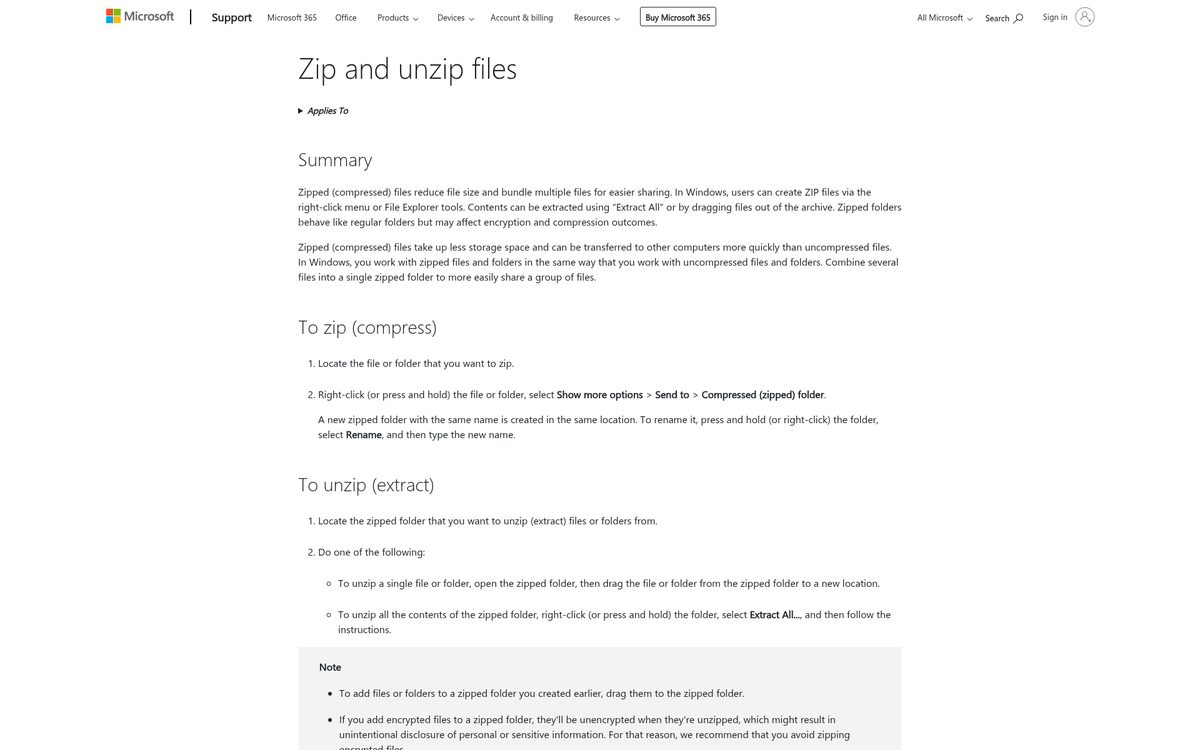
The classic shortcut-menu route is useful when your Windows 11 installation shows a different arrangement of compression commands.
- Open the folder containing the file or folder you want to package.
- Select the item. To package several items, select them together first.
- Right-click the selection and choose Show more options.
- Choose Send to, then Compressed (zipped) folder.
- Find the new ZIP in the same location as the originals.
- Right-click the ZIP, choose Rename, and give it a useful name.
The ZIP is an additional file; creating it does not remove the originals. If you are collecting documents from several locations, put copies in one clearly named folder first, then zip that folder.
To unpack a ZIP, right-click it and choose Extract All, then follow the prompts. Extracting before editing helps keep your working documents separate from the packaged copy you received.
Zip files on a Mac
Finder includes a Compress command, so the basic process works without installing another utility.
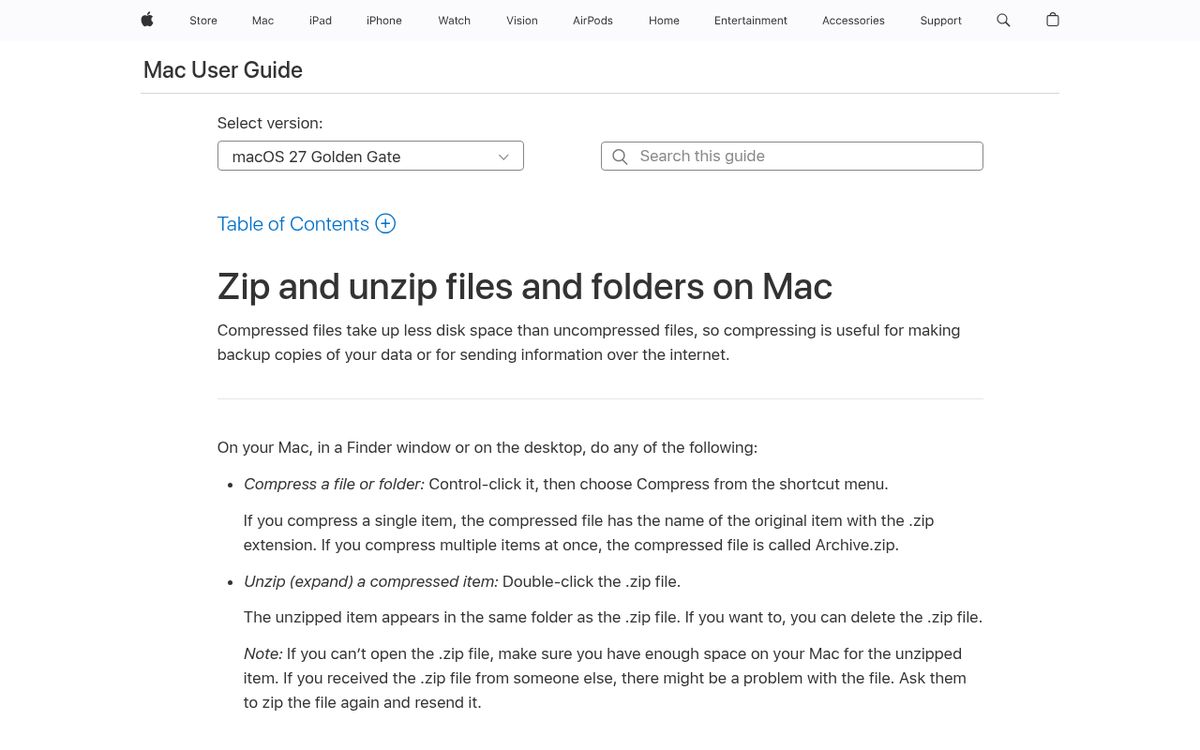
Use Control-click and Compress for the built-in method on current Mac software, including macOS Sequoia and Tahoe 26.
- Locate the file or folder in a Finder window or on the desktop.
- Select one item or select several items together.
- Hold Control and click the selection.
- Choose Compress from the shortcut menu.
- Look beside the originals for the new ZIP archive.
A single compressed item keeps its original name with a .zip extension. When you compress several items together, the archive is named Archive.zip. Rename that generic archive before sending it so the recipient knows what it contains.
Double-click a ZIP to expand it. Make sure there is enough free storage for the extracted contents, especially when opening an archive that contains many large documents.
Create a ZIP on iPhone
The Files app can create and open ZIP archives directly on an iPhone.
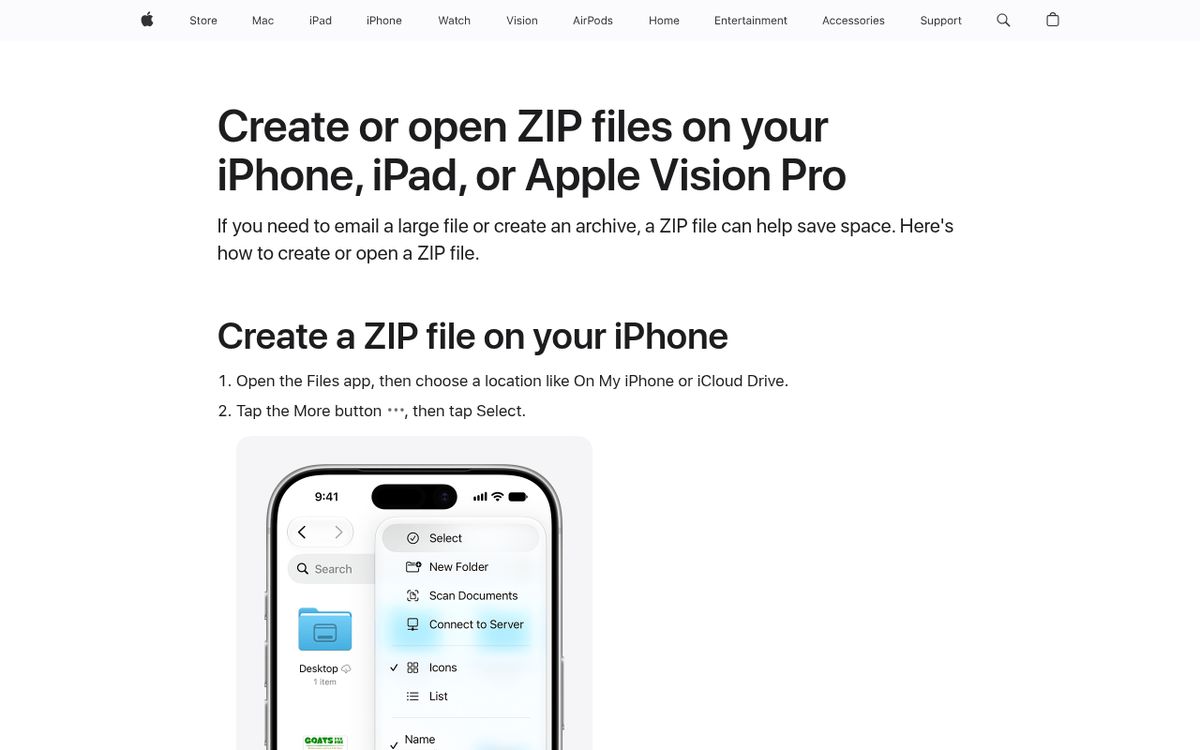
The Select menu lets you gather multiple files before compressing them. Apple’s current instructions use the following sequence for iPhone, including devices running iOS 26.
- Open Files.
- Choose a location containing your documents.
- Tap the More button, then tap Select.
- Select the files you want to include.
- Tap the More button in the lower-right corner.
- Tap Compress.
One selected file produces a ZIP with that file’s name. Multiple selected files produce Archive.zip in the same folder. Touch and hold the archive and choose Rename if you want a more descriptive label.
To open a ZIP, tap it. Files creates a folder containing the extracted documents. Open that folder and check its contents before assuming everything arrived successfully.
If your phone is nearly full, creating another copy of a large collection may be impractical. Review our guide to freeing up phone storage before packaging a big batch.
Compress files on Android
Files by Google supports ZIP creation on Android 8 and later, which includes Android 16.
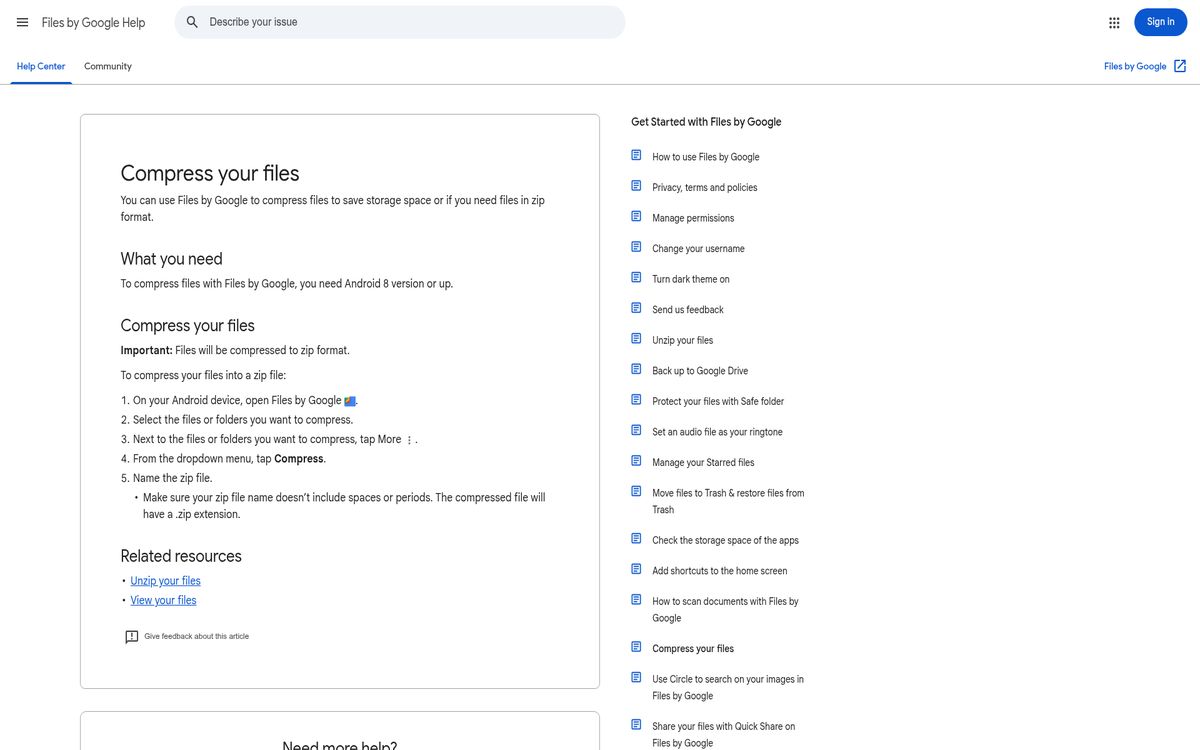
Use the app’s Compress command, rather than assuming every manufacturer’s file manager has the same menu. An app simply called Files on your phone may be a different product.
- Open Files by Google.
- Select the files or folders you want to package.
- Open the More menu for the selected items.
- Choose Compress.
- Enter a name for the ZIP file, following the app’s prompts.
Google specifically says not to include spaces or periods in the name you enter. The compressed file receives the .zip extension, so you do not need to type that extension yourself.
If Compress is missing, first confirm that you are using the correct app and consult its current help. Do not apply these exact steps to a different manufacturer’s file manager; its capabilities and menu labels may differ.
Understand what ZIP compression can change
The original file format has a major effect on how much space you save. A collection of text-heavy documents may shrink noticeably, while already compressed photos or videos may barely change.
A ZIP remains useful even without substantial savings because it groups related items into one package. A folder containing a proposal, reference images, and supporting documents is easier to deliver as one archive than as many separate attachments.
However, a ZIP is not a reliable way to make a large video fit an upload limit. For that situation, use our guide to compressing a video, which addresses the media itself.
Do not treat ordinary compression as password protection. The built-in workflows above describe packaging files, not securing sensitive content. Check your organization’s approved sharing process before sending private documents.
Also check the destination’s rules. Some upload forms accept individual documents but reject archives, even when the archive is below the stated size limit.
Check the archive before sending
A test extraction is the most useful final check because it shows what your recipient will actually receive.
- Keep your original files.
- Open or extract the new archive into a separate location.
- Confirm that the expected files and folders are present.
- Open an important document and check that it is readable.
- Compare the ZIP’s size with the destination’s upload limit.
- Send the ZIP only after those checks pass.
If the archive is still too large, remove unnecessary duplicates or reduce the size of the largest source files. Avoid repeatedly zipping the same archive and expecting major additional savings.
Keep the originals until the recipient confirms delivery. Once the transfer is complete, you can remove temporary extracted copies and redundant archives without losing your working files.
Reach designers & developers at work
Sponsored posts, links and listings, each clearly labelled as sponsored. One sponsor per placement.
Become a sponsor